

Art Hanging & Display Resources
What do I use to hang a picture? Hey there 👋 I put this page together to make your life a little easier. Once you’ve picked out a piece of art you love, the next step is getting it on your wall — straight, secure and looking amazing. This is a short list of tools and supplies I actually recommend for hanging and caring for your artwork.
You don’t have to buy these exact products, of course. Think of this as a “what do I use to hang a picture guide” — a few tried-and-true options that can save you time, guesswork and a few extra holes in the wall. Whether you prefer clean metal frames, warm wood tones or digital displays, there’s something here that’ll help bring your setup together.
If you’re new to framing or hanging prints, start with the basics below. You’ll find everything from frames and picture wire to levels and art storage. I’ve kept the list short and clutter-free — just things that work.
All of these resources can be found on Amazon.
Alright, let’s get your space ready to shine ✨
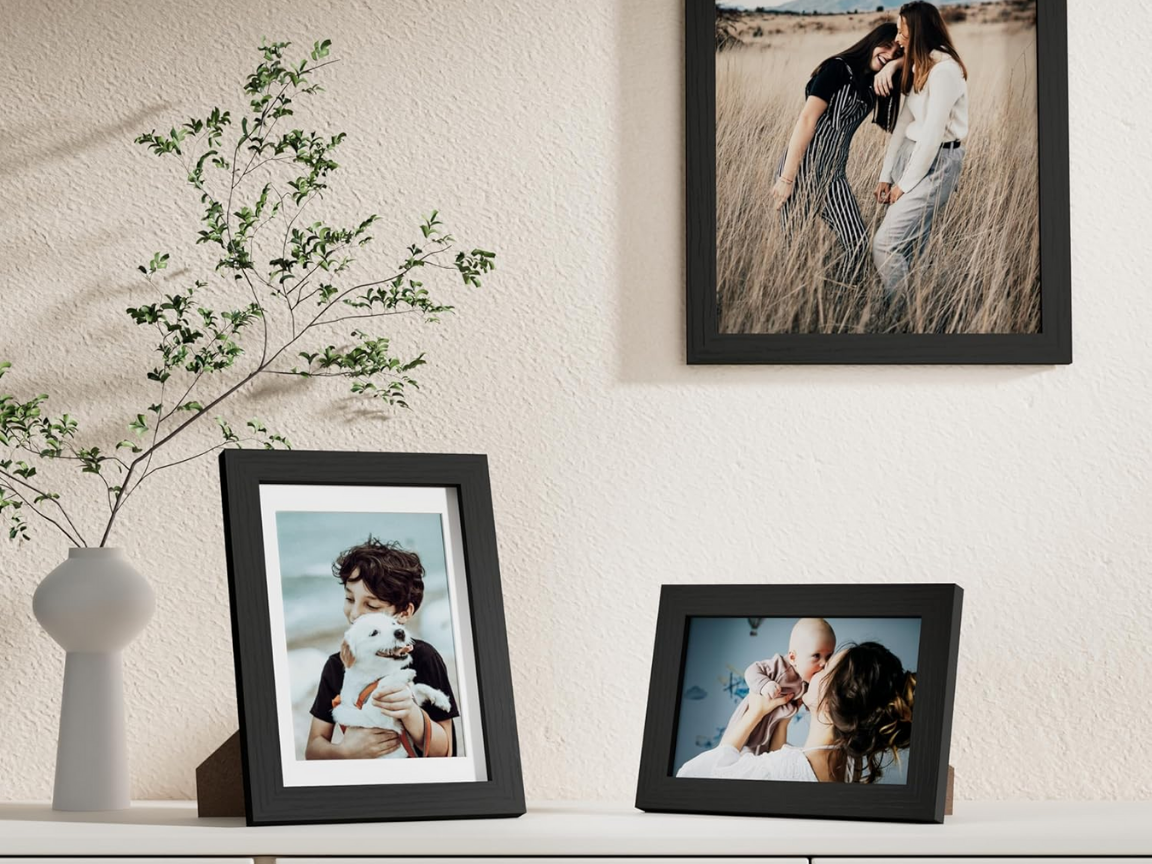
Metal Frames
Clean, modern frames that work beautifully for minimalist or contemporary spaces.
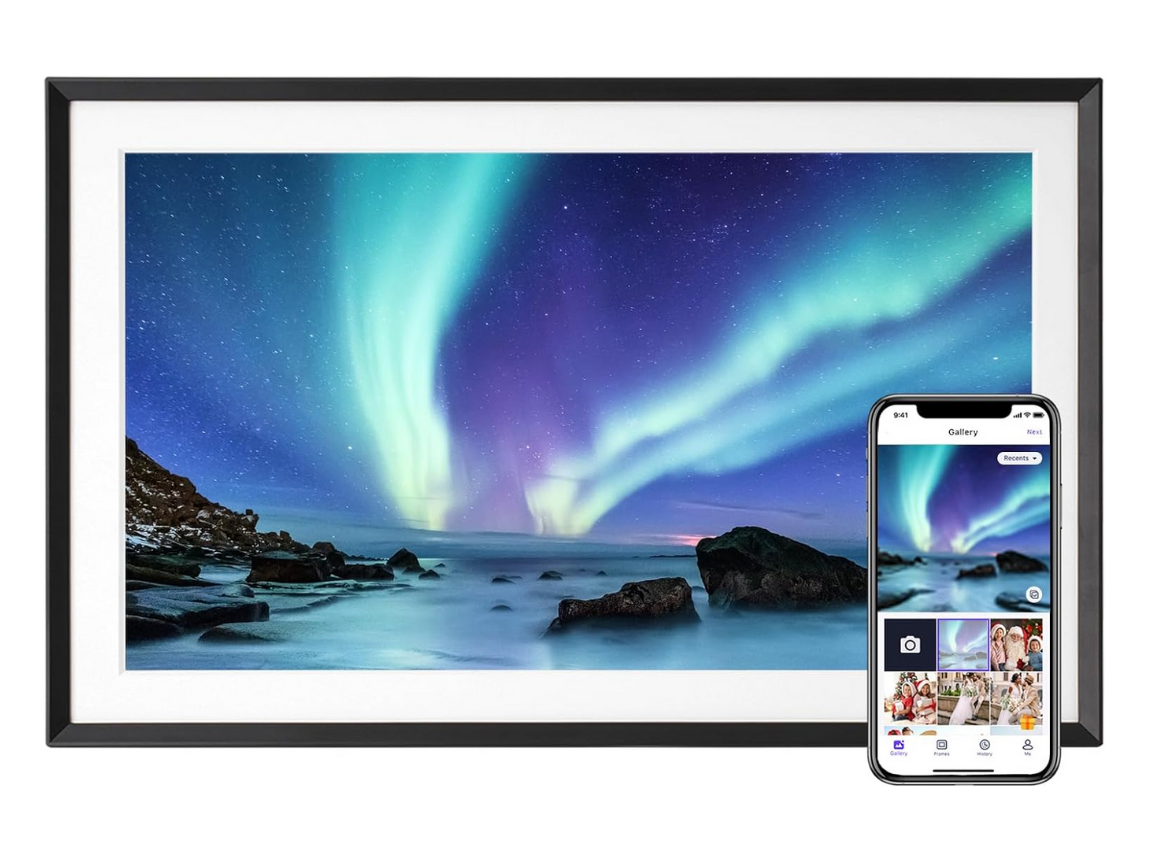
Digital Frames
Showcase multiple pieces with one sleek digital display. Great for rotating your collection.
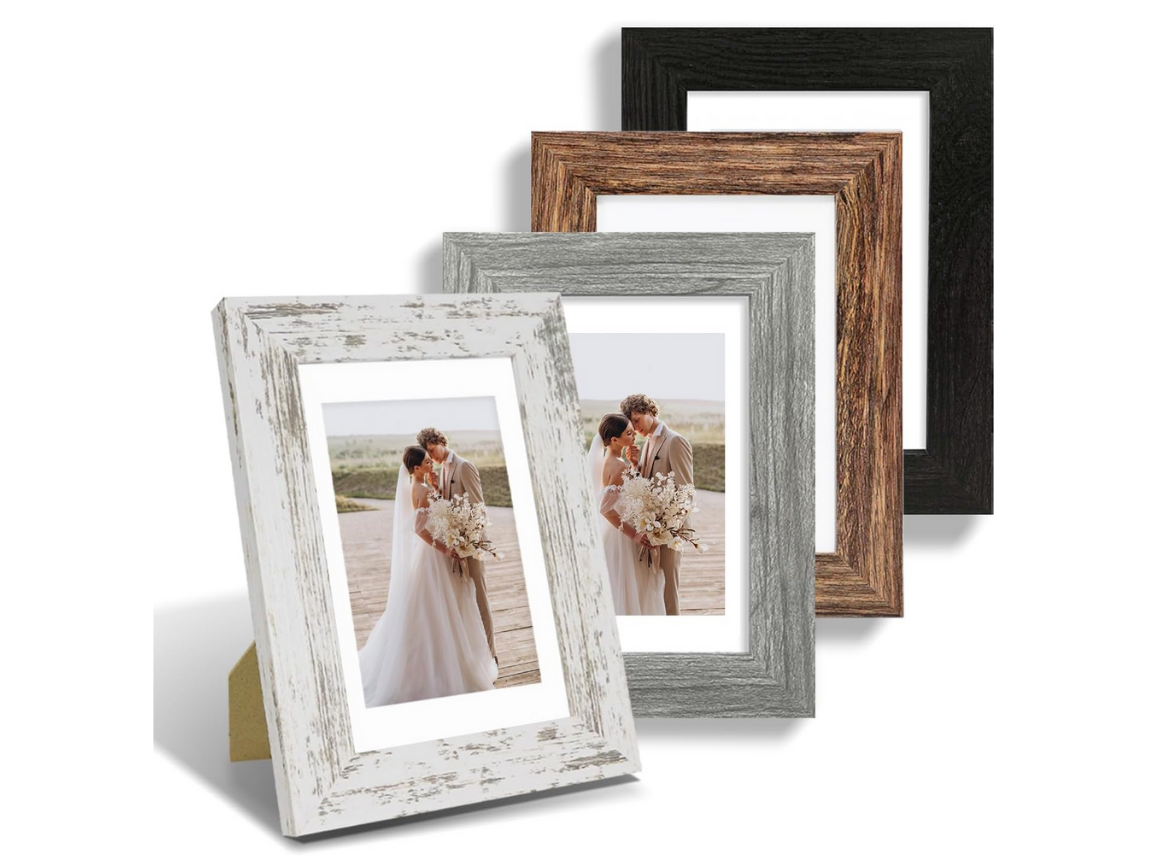
Wood Frames
Natural wood adds warmth and texture. Perfect for classic, rustic, or bohemian decor.
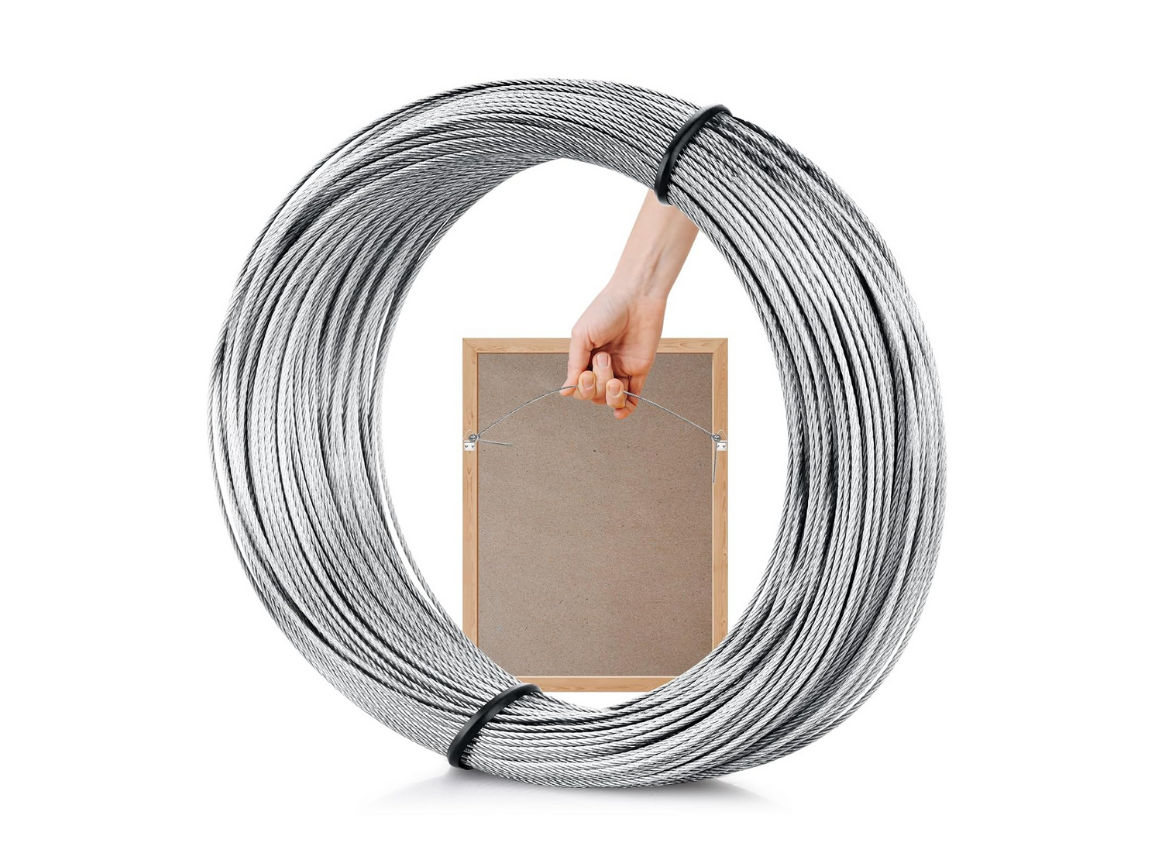
Picture Wire
Strong wire for secure, adjustable hanging. Choose the right strength for your frame’s weight.
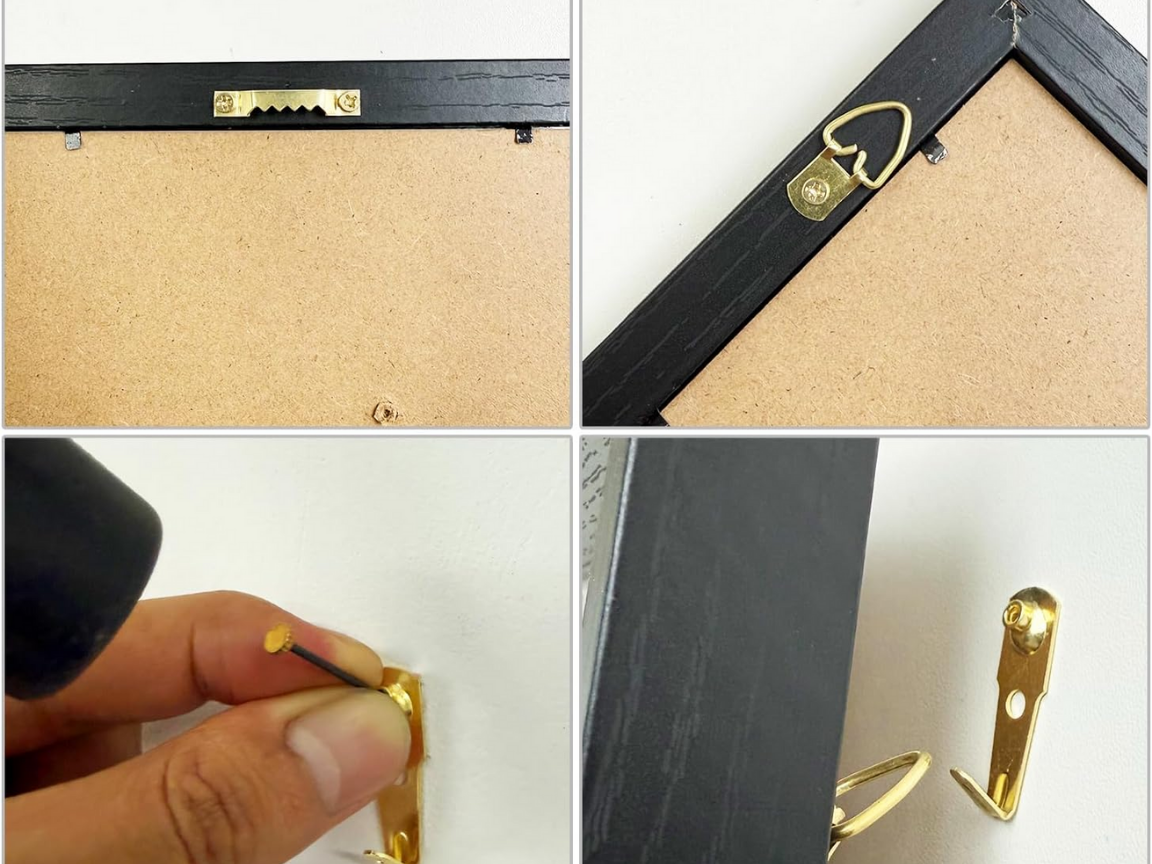
Hanging Clips
Gallery clips and fasteners for flexible hanging options — ideal for renters or quick swaps.
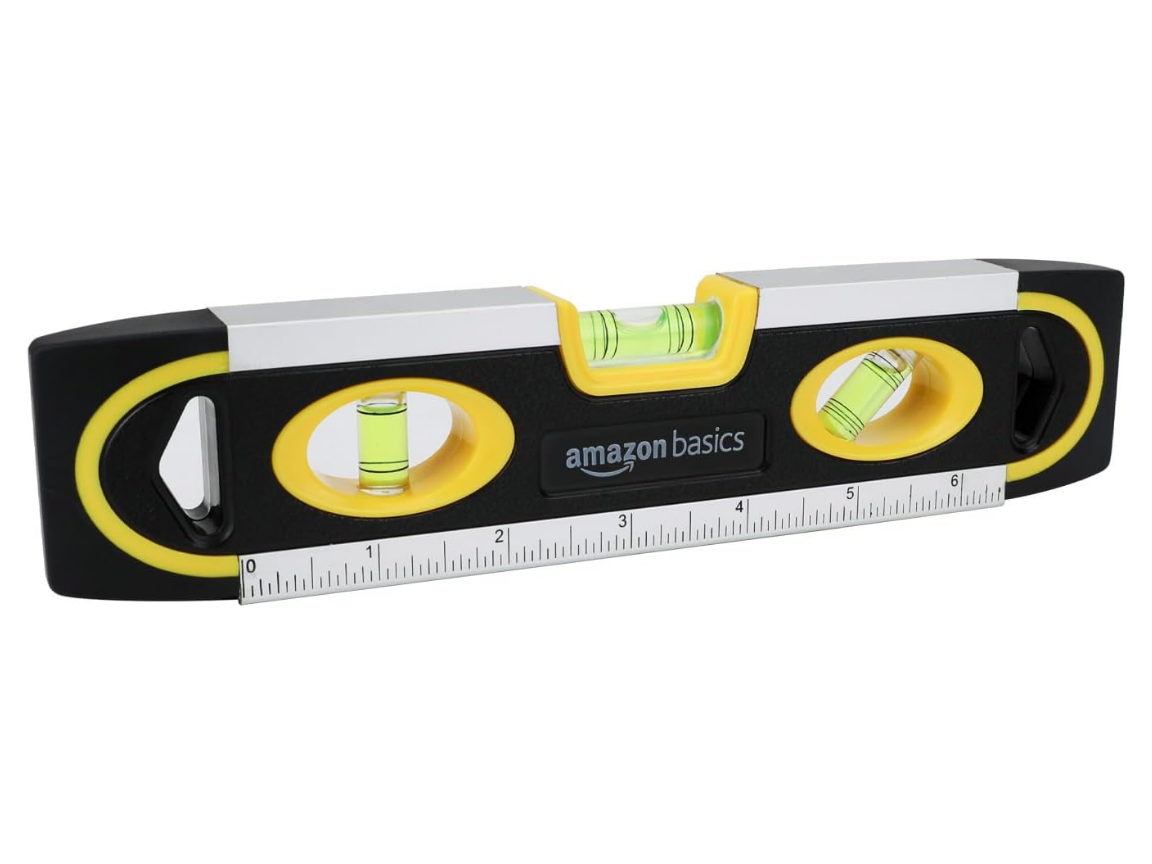
Levels
Keep your artwork perfectly straight with a simple bubble or laser level tool.
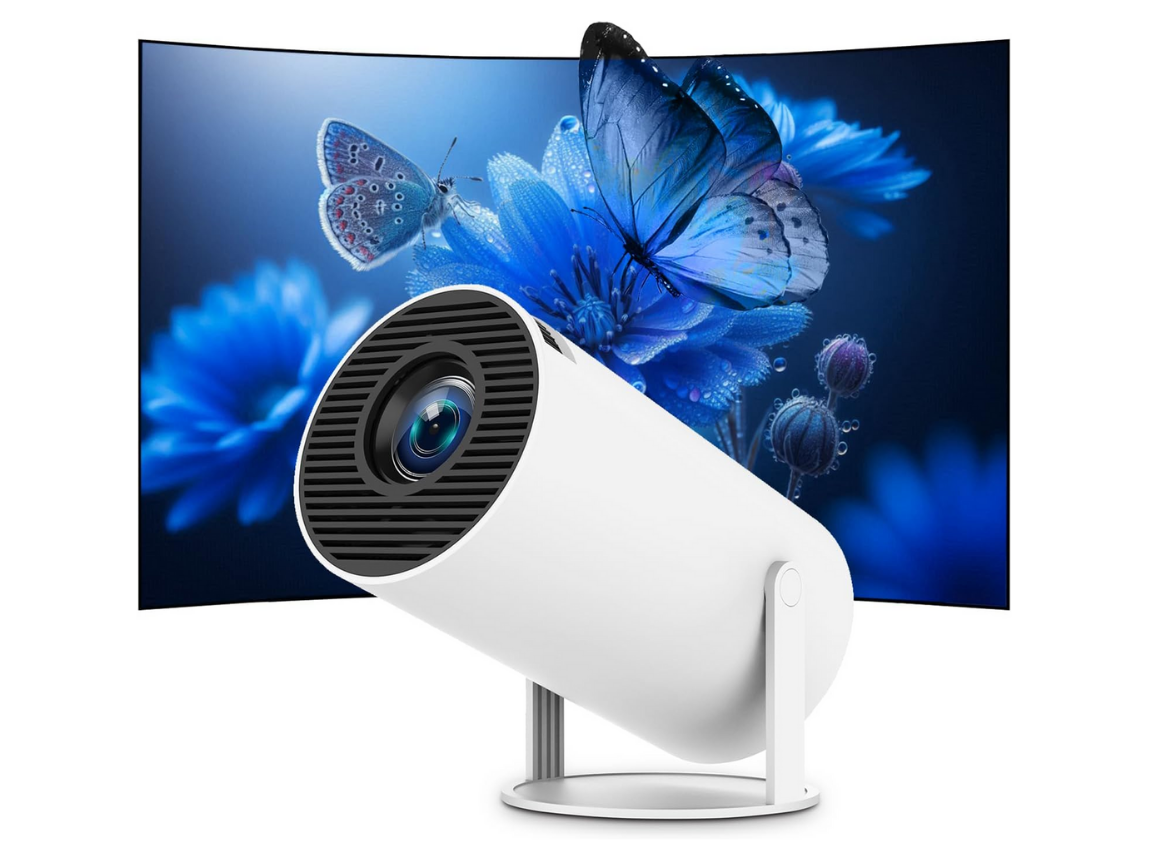
Projectors
Preview your layout by projecting art onto your wall before hanging. Great for gallery walls.
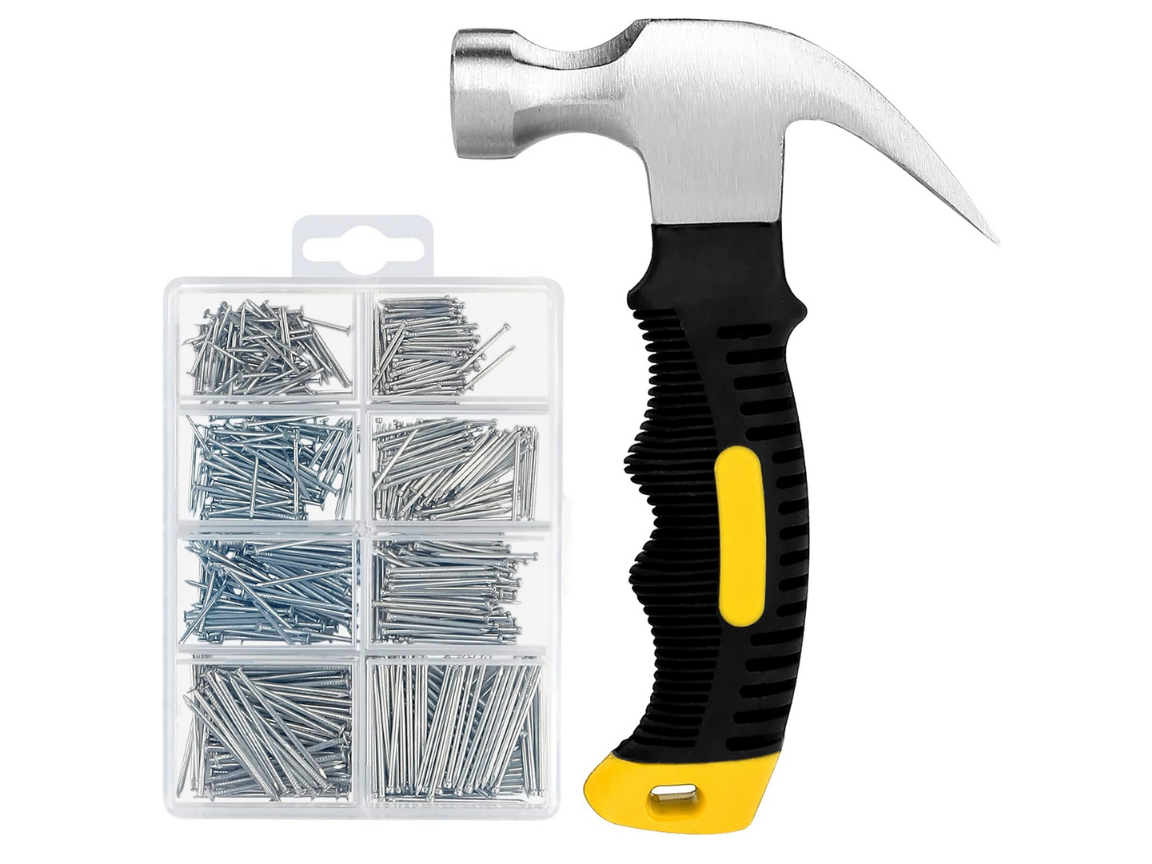
Hammers & Tools
Reliable basics — hammer, nails, tape measure — to get your art up fast and cleanly.
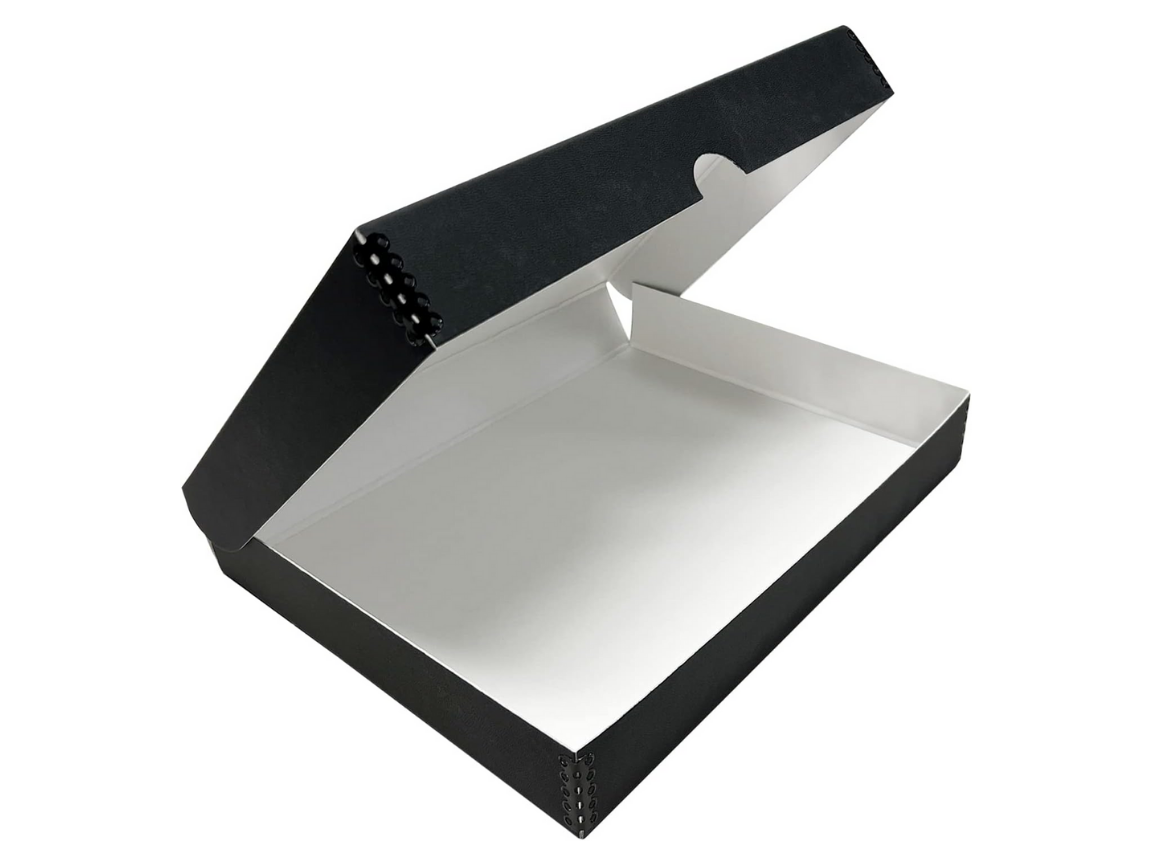
Art Storage
Protect your prints with archival sleeves, boxes, or portfolios when not on display.
A Few Tips Before You Start Hanging
Tip #1: Lay it out before you commit. Place your frames or prints on the floor and play with different arrangements before putting anything on the wall. It’s way easier to shift things around now than to fill in extra nail holes later.
Tip #2: Match the mood to the material. Metal frames give a clean, modern feel — great for digital or minimal artwork. Wood frames add warmth and depth, perfect for nature pieces or softer color palettes. Let the frame echo the vibe of your art.
Did you know? You can use a small piece of painter’s tape to mark the exact spot where the nail should go. Just stick it to the wall, hammer through the tape, and peel it off when you’re done — no smudges, no guessing.
These little tricks can save you time, frustration, and a few extra holes. Once you’ve got your setup ready, explore the resources above for the tools and accessories that make it all come together.
Quick Safety Note: Always make sure your hooks or nails are anchored securely — especially for heavier frames. Avoid hanging art directly above heaters, fireplaces (without mantels), or areas with direct sunlight to keep your prints looking their best for years to come.
*We make a small percentage off some of the items referred to on Amazon. It helps keep Wallores Gallery live online, thank you.